
Best Binoculars for Bird Watching
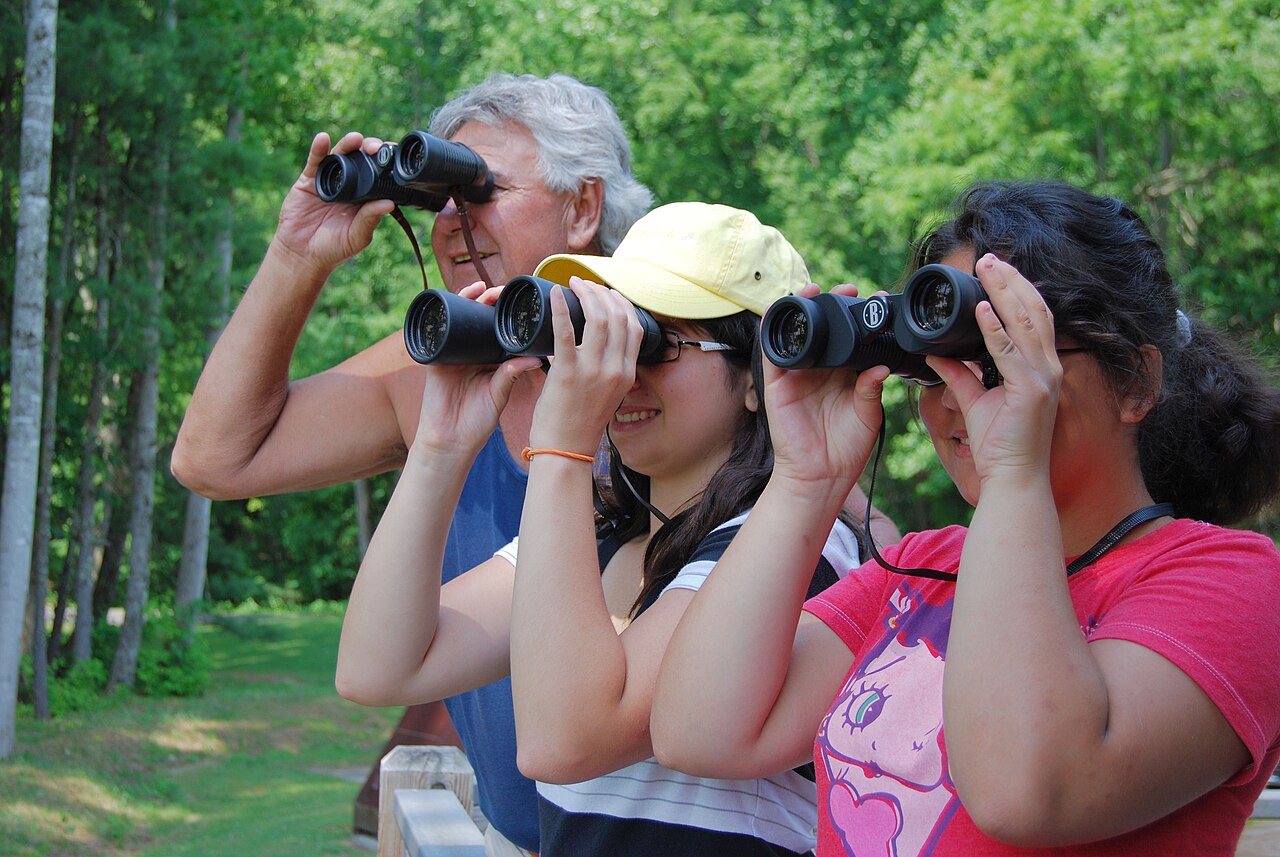



Best Binoculars for Bird Watching: 8×42 Explained
What binoculars should I buy for bird watching?
Buy 8×42. Eight-power magnification with 42mm objective lenses is the sweet spot virtually every experienced birder converges on: bright enough for dawn feeder-watching, wide enough to track a flitting wren, steady enough for untrained hands. Add three requirements — fully multi-coated lenses, waterproof/fog-proof sealing, and a close focus under 8 feet — then buy the best pair your budget allows from a real optics brand. If you wear glasses, insist on 15mm+ eye relief. Skip 10× until your skills demand it, and skip zoom binoculars entirely.
What the Numbers Actually Mean
Every binocular is labeled with two numbers — 8×42, 10×50, 8×25 — and once you can read them, most of the marketing fog clears:
| Number | What It Is | What It Changes for a Birder |
|---|---|---|
| First number (8×) | Magnification | How close the bird appears; also how much hand shake and how narrow the view |
| Second number (×42) | Objective lens diameter (mm) | Light-gathering — brightness at dawn, dusk, and under canopy |
| Second ÷ first | Exit pupil (42÷8 = 5.25mm) | The beam of light reaching your eye; above ~4mm stays bright in dim light |
| Field of view (e.g., 400 ft @ 1000 yds) | Width of the visible scene | Wider = easier to find and follow a moving bird |
The 8×42’s exit pupil of 5.25mm roughly matches what your eye can use in subdued light — which is why an 8×42 at feeder-side dawn shows a cardinal’s plumage detail that a compact 8×25 physically cannot deliver. The second number is not about size vanity; it’s about the light budget of your eyes.
8× vs 10×: The Only Magnification Debate That Matters
Thirty years of watching beginners buy binoculars has taught me the pattern: first-timers want more power, veterans want more view. Here’s the honest trade:
- 8× gives you a wider field of view — roughly 15–20% wider than 10× in the same class. A wider view is the difference between lifting the binocular and finding the bird, and lifting it to stare at empty branches while the bird laughs from somewhere outside your window of view.
- 8× steadies better. Hand shake is magnified along with the bird; at 10×, fine tremor blurs fine detail, which cancels much of the theoretical resolution gain.
- 10× earns its keep in open country — hawks over a ridge, shorebirds across a mudflat, waterfowl on a lake. If most of your birding is a backyard, woods edge, or local park, 8× wins; if you live for big open vistas, 10× is a legitimate second pair, not a first one.
- 12× and up is scope territory. Past 10× you’re buying a tripod problem, not a binocular.
From the field: the single best test is a warbler in a shrub. If you can get on a moving Yellow-rumped Warbler in two seconds and keep it as it hops, your magnification is right. If you keep losing it between hops, you bought too much power.
Eye Relief: The Spec Eyeglass Wearers Must Check
Eye relief is the distance your eye can sit from the eyepiece and still see the full picture. With glasses, your eye sits farther back, so short eye relief gives you a “keyhole” view with dark edges — you’ll see the middle of the bird and miss everything else.
- Glasses wearers: 15mm minimum, 16–18mm comfortable. This is printed in every spec sheet; ignore it at your wallet’s peril.
- Twist-down eyecups for glasses, twist-up for bare eyes. Multi-stop eyecups let you dial the exact distance.
- Non-glasses birders can ignore the whole spec — but test it if you bird in sunglasses, which are glasses too.
Try this in the store: glasses on, eyecups down, look at a bright window. If you see the full circular image edge to edge, the eye relief works for you. If the circle crops at the edges, move on — no amount of optical brilliance elsewhere fixes a keyhole.
Close Focus: The Backyard Birder’s Secret Spec
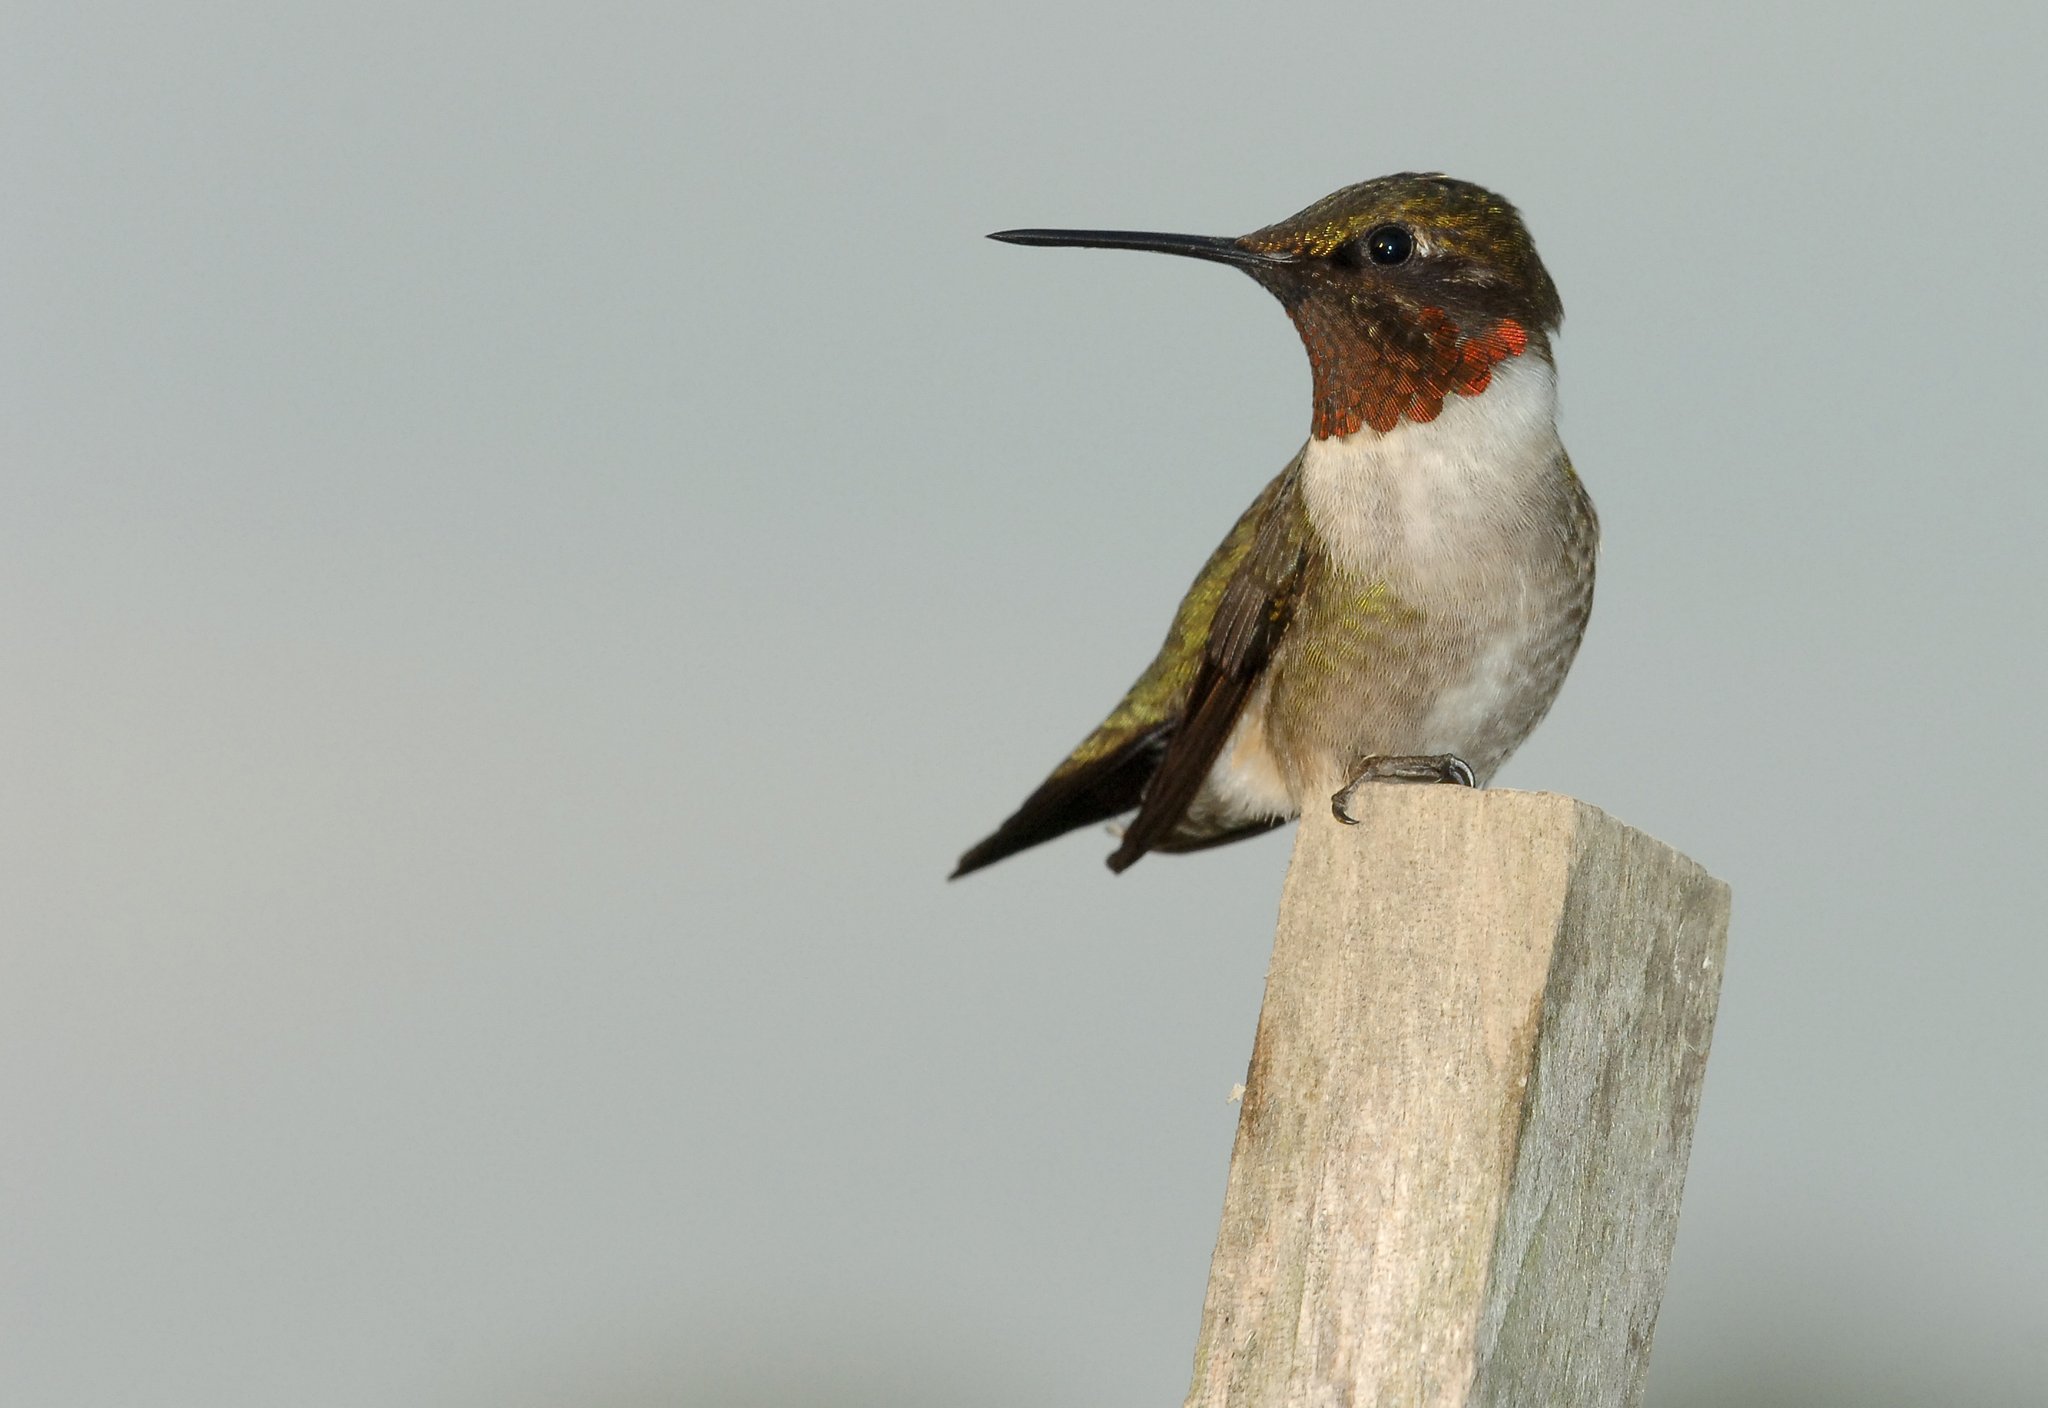
Here’s the spec almost nobody advertises and backyard birders need most: minimum focus distance. Much of backyard birding happens at 6–15 feet — the hummingbird at the feeder outside the window, the Downy Woodpecker on the suet across the deck. A binocular that can’t focus closer than 15 feet turns your best views into fuzz.
Target 8 feet or closer; a few excellent models focus to 5–6 feet, which also opens up butterflies and dragonflies. A binocular with superb optics and a 20-foot close focus is a hawk-watching tool, not a backyard tool. Read the spec sheet for “close focus” or “minimum focusing distance” before anything else if your birding happens at a feeder.
What Each Budget Actually Buys
Prices shift, but the capability ladder is stable. What changes as you spend more is not mostly magnification or coatings on paper — it’s optical quality control, edge sharpness, color fidelity, and durability:
| Tier | What You Get | Who It’s For |
|---|---|---|
| Under $150 | Serviceable roof-prism 8×42s exist now; center sharpness fine, edges soft, coatings basic | Beginners, kids, glovebox spare |
| $150–$350 | The value sweet spot — fully multi-coated, phase-corrected prisms, waterproof, genuinely good glass | Most backyard birders; buy here |
| $350–$700 | Noticeably brighter, sharper to the edge, better in twilight; premium warranties | Daily birders, anyone who birded with cheap glass for a year and wants the step up |
| $1,000+ | The last 10% — flat field, exquisite color, jewel-like build | Experts and the optics-smitten; wonderful, not necessary |
Two rules that save money: a $300 binocular beats a $150 binocular by far more than a $3,000 beats a $700 one — the mid-tier is where value concentrates. And a quality mid-tier pair held to the eye beats a flagship pair left at home, every single day of the year.
How to Test Binoculars Before You Buy
If you can handle the pair first — at an optics shop, a birding festival, or a club meeting — run this sixty-second exam:
- Focus speed: find a near object, then a far one. The focus wheel should travel between them smoothly in about one turn — too slow loses birds, too fast overshoots.
- Edge test: center a sign or branch, then move it to the edge of the view without refocusing. Good glass keeps it nearly sharp; cheap glass melts into smear.
- Color test: look at a high-contrast edge (dark branch against bright sky). Purple or green fringing signals cheap coatings.
- Comfort test: hold them up for two full minutes. Weight and balance that feel fine for ten seconds announce themselves at two minutes — birding is a two-minute sport.
- Eye relief check (glasses wearers): eyecups down, full image visible edge to edge, no keyhole.
- Close focus check: step toward an object until focus fails. Under 8 feet passes the backyard test.
Buying online? Choose retailers with real return windows, and run the same exam on your own feeder the day the box arrives.
7 Binocular Mistakes Beginners Make
- Buying maximum magnification. 10×+ before your skills need it means shake, narrow views, and lost birds.
- Buying zoom binoculars. Variable-power designs compromise everything binoculars do well; a fixed 8×42 outperforms them at any price.
- Ignoring close focus. Twenty-foot minimum focus turns your feeder window into a blur.
- Ignoring eye relief with glasses. The keyhole view is unfixable after purchase.
- Buying compact 25mm models as a primary. Exit pupils under 4mm go dim exactly when birds are active — dawn and dusk.
- Skimping to toy-store glass. Misaligned barrels cause eye strain and headaches; buy a real optics brand or don’t buy.
- Leaving them home. A $300 pair in hand beats a $3,000 pair in a closet, forever.
Frequently Asked Questions
- Default to 8×42 — the configuration a century of birders converged on.
- Field of view finds birds — magnification without width is a frustration engine.
- Glasses? 15mm+ eye relief — check the spec before anything else.
- Close focus under 8 feet — backyard birding happens close.
- The $150–$350 tier is the sweet spot — waterproof, fully multi-coated, honestly sharp.
- Never buy zooms or toy-store glass — fixed power, real brands only.
- Carried beats perfect — the pair you bring beats the pair at home.